
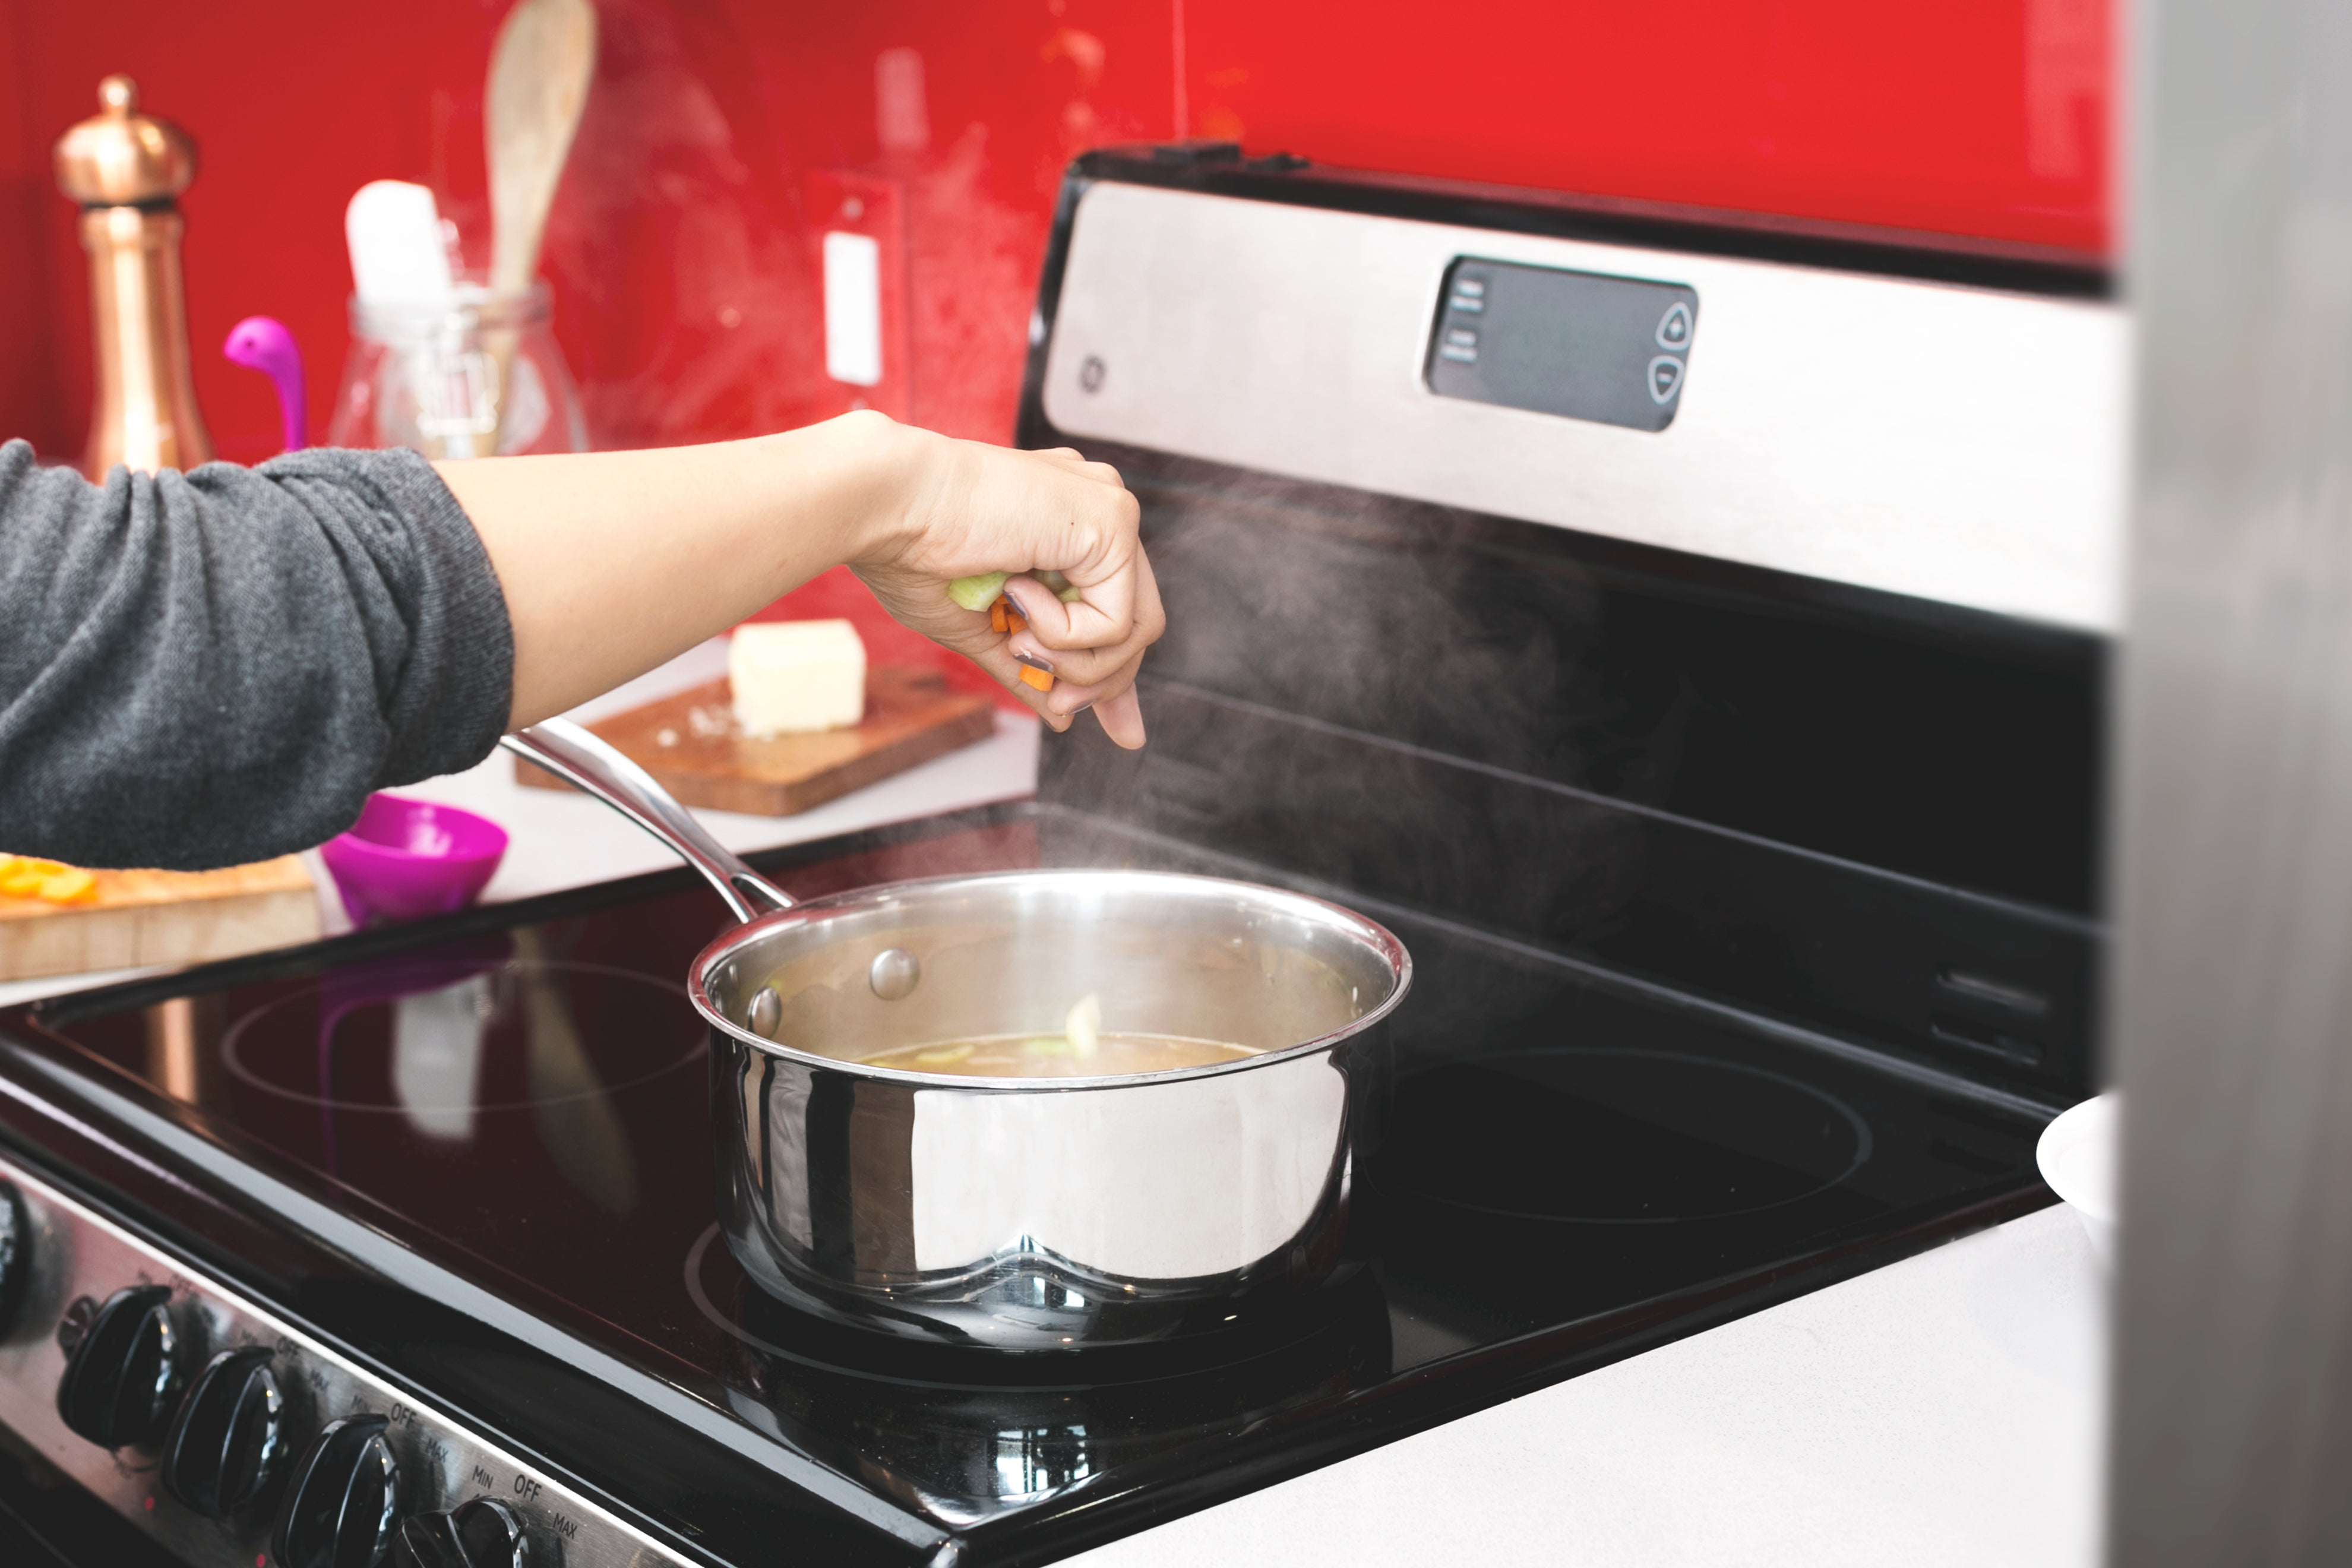
As moms, we know that the heart of the home is often found in the kitchen, but it also happens to be a hotspot (literally) for unexpected burns and blisters. Whether it's a little touch with a hot frying pan or a brush with the oven rack, we've all been there: small burns that turn into discomfort.
Alright, let's get into the kitchen burns. We're not going to dive into a medical textbook here, just keep it real.
Let’s understand kitchen burns
Types of Burns
So, first things first, what kind of burns are we dealing with? There are three main characters in this drama: thermal burns (from heat), chemical burns (from, you guessed it, chemicals), and electrical burns (a shocker, quite literally).
Degrees of Burns
Now, let's talk severity. Burns come in three degrees. First-degree burns are the lightweights, second-degree burns are a bit more serious, and third-degree burns are the heavy hitters. Understanding the degrees helps you determinate how much attention your burn needs.
First Aid for Kitchen Burns
Alright, we've all been there – that sizzle, that sting, and suddenly, we're doing a little burn dance. But fear not, because we're about to become masters of first aid for kitchen burns.
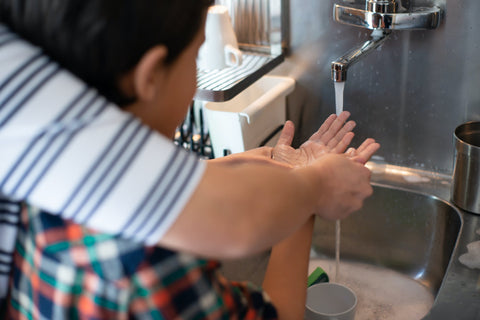
Step 1: Cool it Down
When a burn happens, the first instinct might be to do a little dance and panic simultaneously. Instead, head straight to the sink. Cool that burn with some running cool water. Not cold, not hot. Let the water work its magic for about 10 minutes.
Step 2: Tight Things Off
Next, let's make some room. Take off any tight items around the burn – rings, bracelets, superhero cuffs – whatever you've got going on. We're giving that burn some breathing space.
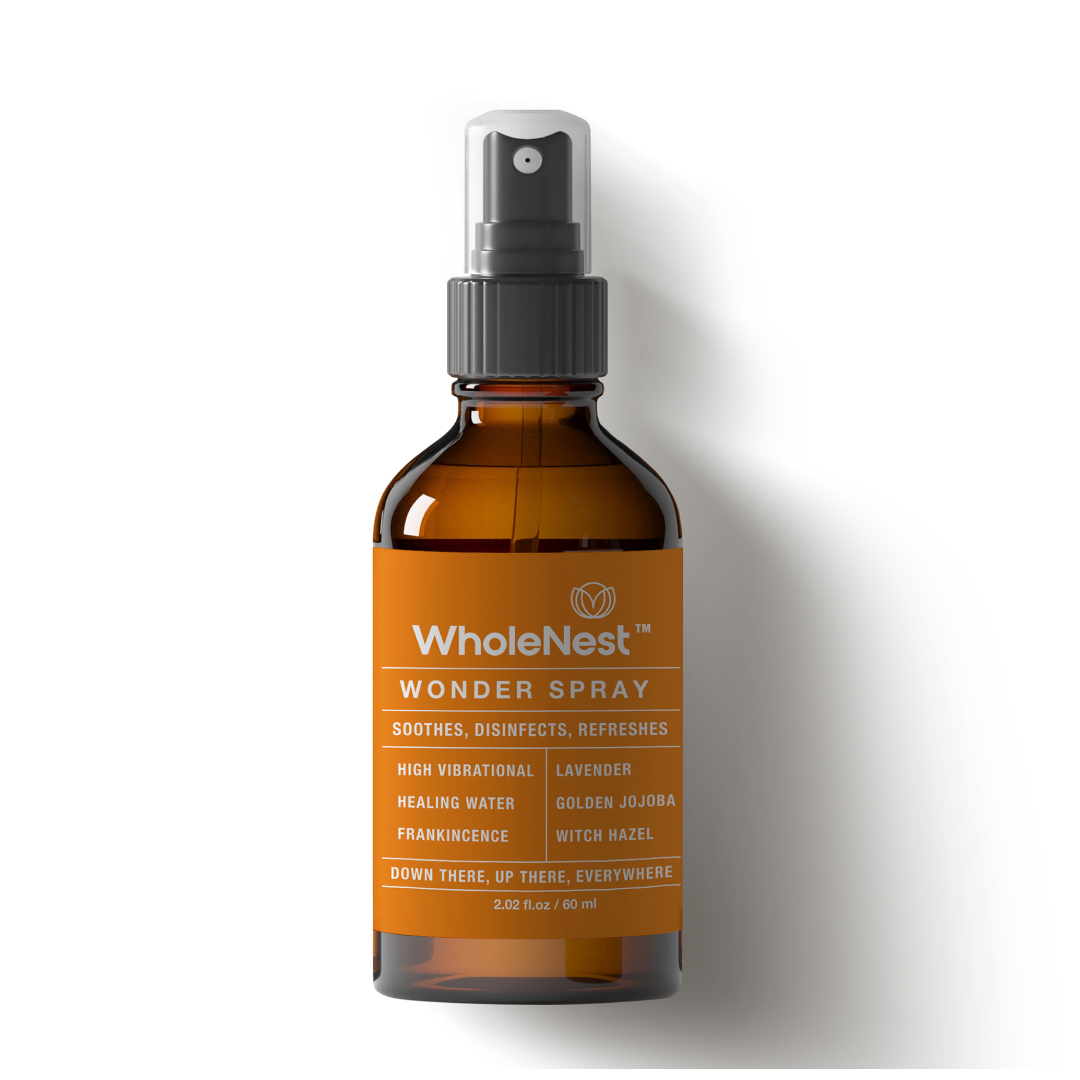
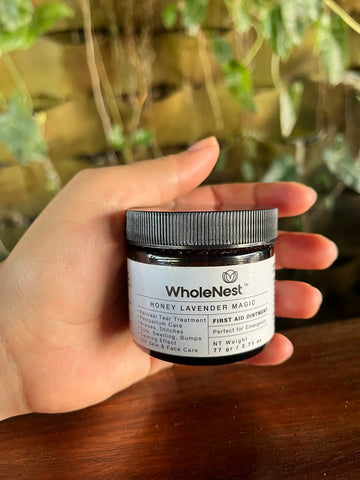
Pro Tip – The secret first-aid ointment that will change the way you deal with kitchen burns forever!
Ah, enter the hero of our story – The Honey Lavender Magic. This ointment is a game-changer. A little scoop from the jar and apply it to the burn or blister. Not only does it soothe your skin, but it also revitalizes, restores, and moisturizes like a spa day in a jar. The anti-bacterial qualities of honey work their magic, keeping the wound clean and preventing any uninvited infections.
GET YOUR BURNS OINTMENT NOW
Step 3: Cover It Up
After cooling and applying the Burns Ointment, you can cover the burn with a clean, non-stick bandage or cloth.
Now, I'm not a doctor (just a kitchen conqueror like you), so if the burn seems serious or it's a little more than we can handle, it's time to call in the pros.
Signs it's Time to Call in Reinforcements:
While most kitchen burns are like minor wounds we can handle at home, there are times when it's wise to let the professionals take the lead. If you notice any of the following signs, it's your cue to pick up the phone:
- The burn covers a large area or a major joint.
- It's a second or third-degree burn; these are the serious ones that might need some expert attention.
- The pain is persistent and not responding to over-the-counter pain relievers.
- The burn resulted from a chemical or electrical source.
Healing Timeframes for Different Burns
Now, let's talk about the healing process.
1. First-Degree Burns
- These are like the light scratches of the kitchen world. Typically, they heal within a week, and using the Honey Lavender Magic even sooner.
2. Second-Degree Burns
- These take a bit more time to mend, usually around three weeks. The good news is that with proper care, the risk of scarring diminishes. Keep applying that burns ointment and shower your skin with the love it deserves.
3. Third-Degree Burns
- Now, these are the heavyweights. Healing time can extend well beyond three weeks, and scarring is more likely. If you've encountered a third-degree burn, seek professional help immediately.
Factors Influencing Healing
- Age: The younger you are, the faster you heal. Kids often bounce back quicker than adults.
- Overall Health: A healthy lifestyle contributes to speedier recoveries. So, keep up those nutritious meals!
- Size of the Burn: Larger burns may take more time, so be patient and let the healing happen at its own pace.
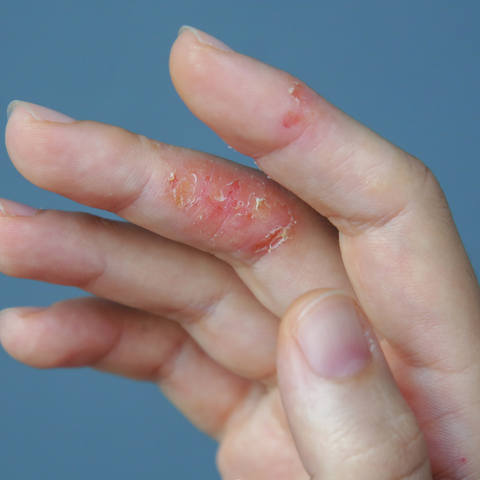
How Blisters Form on the Skin
Blisters on the skin can occur in the kitchen due to various reasons. One common cause is burns from accidentally touching hot surfaces or liquids such as boiling water or oil. The intense heat can cause damage to the skin, resulting in the formation of blisters as the body's natural response to protect the injured area. Additionally, friction from handling kitchen tools or utensils, especially when they're hot, can also lead to blisters. It's essential to take precautions and handle hot objects with care to prevent these painful skin irritations.

To treat a blister effectively, follow these steps:
- Clean the blister: Wash the area gently with mild soap and water to remove any dirt or bacteria that could lead to infection.
- Leave it intact: Avoid popping the blister, as this can increase the risk of infection. Instead, let it heal naturally.
- Apply an ointment: If the blister is painful, you can apply a small amount of Honey Lavender Magic to the area before covering it with a bandage.
- Protect the blister: Cover the blister with a bandage or blister pad to protect it from further irritation and friction.
- Monitor for signs of infection: Keep an eye on the blister for any signs of infection, such as increased pain, redness, or swelling. If you notice any of these symptoms, seek medical attention.
Remember to avoid popping blisters whenever possible, as they act as a protective barrier for the skin while it heals. If you're unsure how to treat a blister or if it becomes infected, it's best to consult a healthcare professional for advice.
Listen to Your Skin
- Your skin will give you cues about its healing progress. If you notice any unusual changes or if the pain persists longer than expected, don't hesitate to reach out to a healthcare professional.
Our kitchens are more than places to cook; they are the heart of our homes, where memories are made, memories are shared and flavors are enjoyed. Yes, burns can come uninvited, but with the right products and a touch of mom's magic, we can turn every mishap into a quick cure.